Ginvera Marvel Gel review


I believe that exfoliating is one of the most important parts of any beauty regimen, but finding the perfect exfoliator can be hard. I don't like ordinary scrubs and I know that they tend to spread bacteria allover your face and aggravate existing blemishes. That's why I consider the product I am reviewing today a real game changer! I am obsessed with it! It is the Green Tea Whitening Marvel Gel by Ginvera. I absolutely adore this gel and I fell in love with it from day one.


Ginvera Marvel Gel claims to have 10 amazing effects on the skin including: removing blackheads, smoothing the skin, fading pigmentation spots and acne scars, removing dead skin cells and many more. 

I can honestly say that after using it for a month I can see great results and I cannot imagine my skincare routine without this product. It definitely made it's way into my top 5 skincare products after just one use! Yes, that's right. You can notice a difference immediately.

First of all, it is an absolute pleasure to use. It is a smooth, cool gel and it won't irritate your skin. It is very gentle and can be used around the eye area. It works by dissolving and removing dead skin cells in the top epidermis layer without aggravating blemishes and irritating sensitive skin. I included a picture of the gel "in action" so you can see how it works:) It is amazing, that such a gentle product can dissolve dead skin cells!  I was amazed when I first used it.

I have sensitive skin and I was worried that it can be harsh, but it didn't cause any irritation. It is very soothing. It left my skin feeling super smooth, removed most blackheads and helped to control oily areas of my face. It also makes my complexion look brighter and... my skin tone is more even after 1 month of using the Marvel Gel three times a week. 


Ginvera Marvel Gel is one of the most impressing products I have ever tried. No exaggeration. I am giving it 10/10 and would recommend putting it on your "to buy list" or just buying it right away! You won't regret it.

You can buy a 10ml sample of it for only £2.00 to try it, before buying the full size HERE.


NOTD: messy vintage flower nail art tutorial

I normally use my Konad stamping kit to create a nice design on my nails, but I always wanted to try the "messy" vintage flower manicure. 
When I say messy, I mean really messy! :) 
I just slapped it on without using any special tools or brushes, and here is the final effect.
I also included a step by step tutorial. 
Anybody can do it and I really like the outcome. 
I used  a grey base colour, orange, white and pink for the flowers and lime green for the leaves.
Have you tried this before? If so, leave me a link in the comment.

Sunday Brush Laundry

Hi everyone!
I hope you are having a lovely Sunday. I will try to persuade my husband to take us to a park and maybe pack a nice lunch for a little picnic ;) The weather is beautiful and I wanted to take some pictures of my baby boy in a nice scenery :)

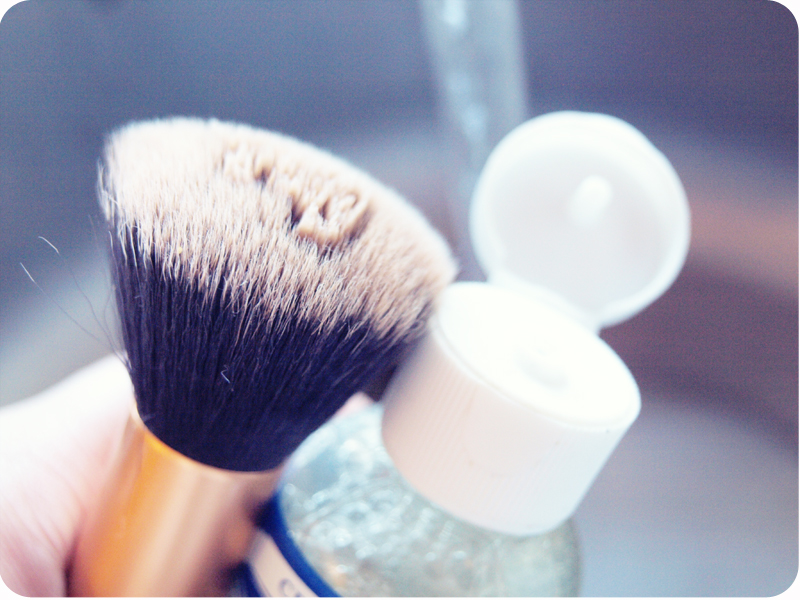
Every Sunday I wash all  the brushes I use daily. There is only one brush I wash more often- the Real Techniques Buffing Brush and I wash it every two days, because it gets dirty easily with liquid and mineral foundations.
I use Dr Bronner's organic Peppermint Castile Liquid Soap or FAB Gentle Body Wash.
I would recommend using the first  one though. It makes the cleaning much easier and smells lovely.
I got mine in Glossybox, but you can get a giant 472ml bottle here for £7.64 with free p&p.
I am sure that lovely Meg from Lipssofacto uses one of Dr Bronner's soaps to clean her brushes too.

I am guessing that everybody knows how to clean makeup brushes, so I am not going into detail.
One thing you need to remember is to hold the brushes pointing downwards during the process   to prevent water getting into the ferrule. Here is a step by step photo guide :)
Oh, and if you want to keep your brushes really soft, use any hair conditioner- it works wonders.
How often do you wash your brushes?

put a couple of drops of liquid soap onto a brush dampened in warm water
start swirling the brush in the palm of your hand to remove all the dirt and stubborn makeup
rinse the bristles until water runs clear
put your brushes on a clean towel and let them dry completely. It can take up to 10 hours.

Magnifibres Brush On False Lashes review

Hi everyone.
I promised to review Magnifibres Brush On False Lashes* separately, so... here is my review :)
I was very excited to try this product as soon as I opened my Lux Box* 
I need to admit, I have never heard about anything like this before. I used 2 step mascaras but I hated them so this solution seemed great to me.
It is meant to add volume and length to the lashes without making them heavy. 
The fibres are self adhesive and to make them work you will need your normal mascara. 
(Any mascara should work with this product.)

How to use it: 
Step 1: Apply your own mascara as usual
Step 2: Apply Magnifibres onto your lashes as if applying mascara, but look downwards – the natural fibres will bind to the base coat of mascara
Step 3: Wait 30 seconds, then apply a second coat of mascara 

You can repeat steps 2 and 3 for even more length and volume

I used Blink&Go mascara with Magnifibres and it worked really well. You need to be careful not to overdo it though. I applied 2 coats and the effect was amazing.
Remember to look downwards when applying the fibres, because they can get into your eyes easily.
My lashes looked lovely all day, no flaking, no smudging. I am really impressed and I have been using this product every day. The effect is close to a false lash effect, but looks more natural.
I had no problems with removing the product, I used my No7 eye makeup remover as usual.
Magnifibres is safe to wear with contact lenses
You can get this products from QVC for £18.96 here reduced from £21.00.

thin coat of mascara +magnifibres
two coats of magnifibres +Blink&Go mascara

NAIL ROCK WRAPS- take two :)

Remember my first attempt at nail wraps? I need to admit... it didn't go to well.
If you want to have  a look, here is the first post.
A couple of days ago I tried another set and this time the wraps look much better, but not perfect :)
I am quite impressed with my right hand though, the last time it was a disaster, this time it looks ok.
I really hope that one day I can apply them perfectly to all nails, because I want them to last for over a week. If there is a small crease on the edge of the nail the wrap will peel of on day 2/3 :(
If they are applied without creasing, they will last for over a week.
That's how long the wrap lasted on my pinky!
I actually used the biggest size on my big toes :) and they stayed on for 2 weeks!!!
I was really surprised! Anyway, if you can master this skill, let me know :) I would love to know a way to prevent creasing.

Nail Rock Bleached Neon Nail Wraps* currently £3.00 from asos.

01 09 10