

AD: This post is in conjunction with Boots UK but all thoughts are my own
I’m a huge fan of false lashes and if you remember the old days of blogging, you will know that the Ardell Wispies have a cult status in the world of beauty. With so many options on the market, it can be hard to choose the right lashes, but after testing hundreds of pairs, I know exactly what I like and how to make the application as easy as possible. Here are my tips tips and tricks, using some of my favourite lashes by Ardell.
FIND YOUR STYLE
First of all, think about the kind of lash you want? Natural? Long and thick? Fluttery and fanned out? Ardell Lashes offer a big variety of shapes, so you can definitely find a suitable style for your eye shape and any occasion.
Ardell Wispies are my favourite style for everyday wear, as they offer extra length and volume but still look very natural. The Ardell Naked Lashes are also a perfect style perfect for everyday wear. They feel extremely light and feature a clear band, so you can get a seamless finish even without wearing liquid liner. The Demi Wispies are a bit thicker and shorter, so if you want your lashes to pop, but don’t like them extra long, these will be ideal. And if you're looking for something very discreet and subtle, the Ardell Natural Lashes would be the perfect choice, with a shorter length and a flared style.

TRIM
I find most lashes the right length for my eyes, but it’s always good to see if they need trimming. You simply try the lash on without glue and trim accordingly with scissors. If you struggle with your falsies coming off in the inner corner of the eye, it’s a sign that you should probably give the lash band a trim.
GLUE
The glue is a make or break step of your lash application. Some glues are not strong enough and won’t keep the lash in place, but the Duo glue included with Ardell Lashes is a cult product you can trust and it won’t let you down. There is a reason why makeup artists swear by it. Apply an even amount of glue along the lash band, making sure to go all the way to the edges (I tend to put a little extra there) and wait till the glue dries a bit and becomes tacky before applying the lashes.

LIQUID LINER
I personally love liquid liner and wear it most days, which definitely helps to prevent a false lash disaster. It’s always my first step when I wear falsies and adds a bit more drama to my makeup look. By adding black liner, you’re also creating a thicker lashline, making the false lashes look more seamless. If you’re worried about your glue being visible with your liner, you can go for black glue to be safe. I personally find the clear glue perfectly fine.

MASCARA
Don’t forget about mascara! You might think that it’s not needed when you’re wearing falsies, but it helps the false lashes blend in with your natural ones. You can also apply a small amount of mascara to the ends of your falsies if you want them to look even fuller.
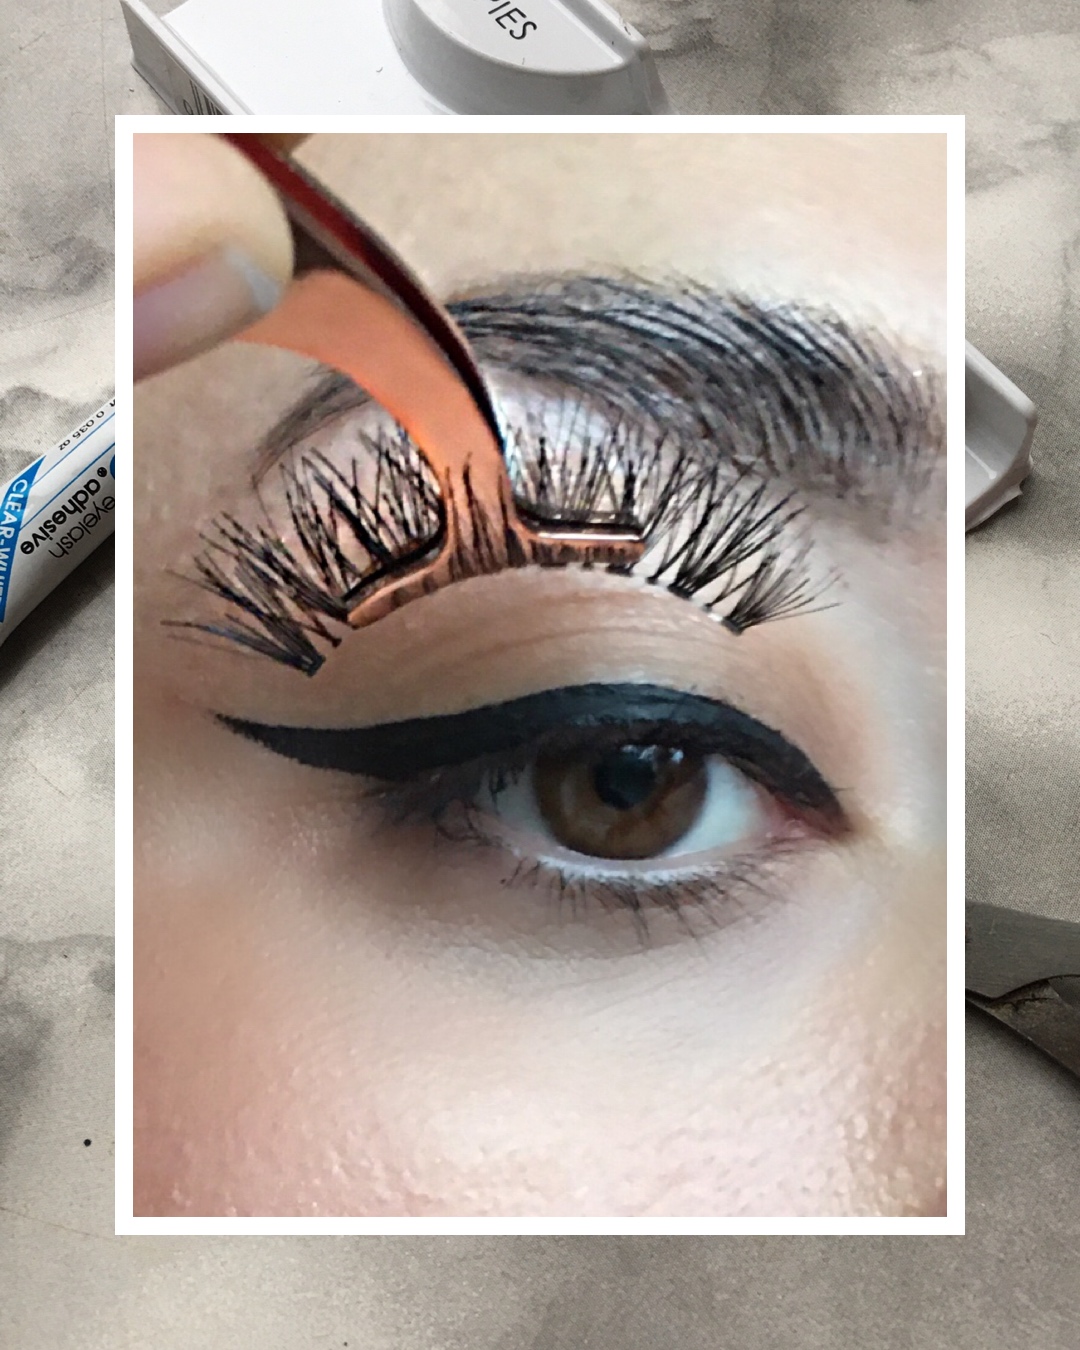
APPLICATION
Last trick for the perfect false lashes is to use an eyelash applicator to place them. It can be a bit fiddly to hold the lashes with your fingers, getting glue allover etc. With an applicator, you can hold the lash securely and place it on your lash line when the glue is ready. To secure the lashes, you can also pinch them together with your natural ones using the applicator. This way, they will blend in and mesh perfectly.

Are you a fan of false lashes? What kind of lash is your favourite?
Sandra xxx
